Introduction
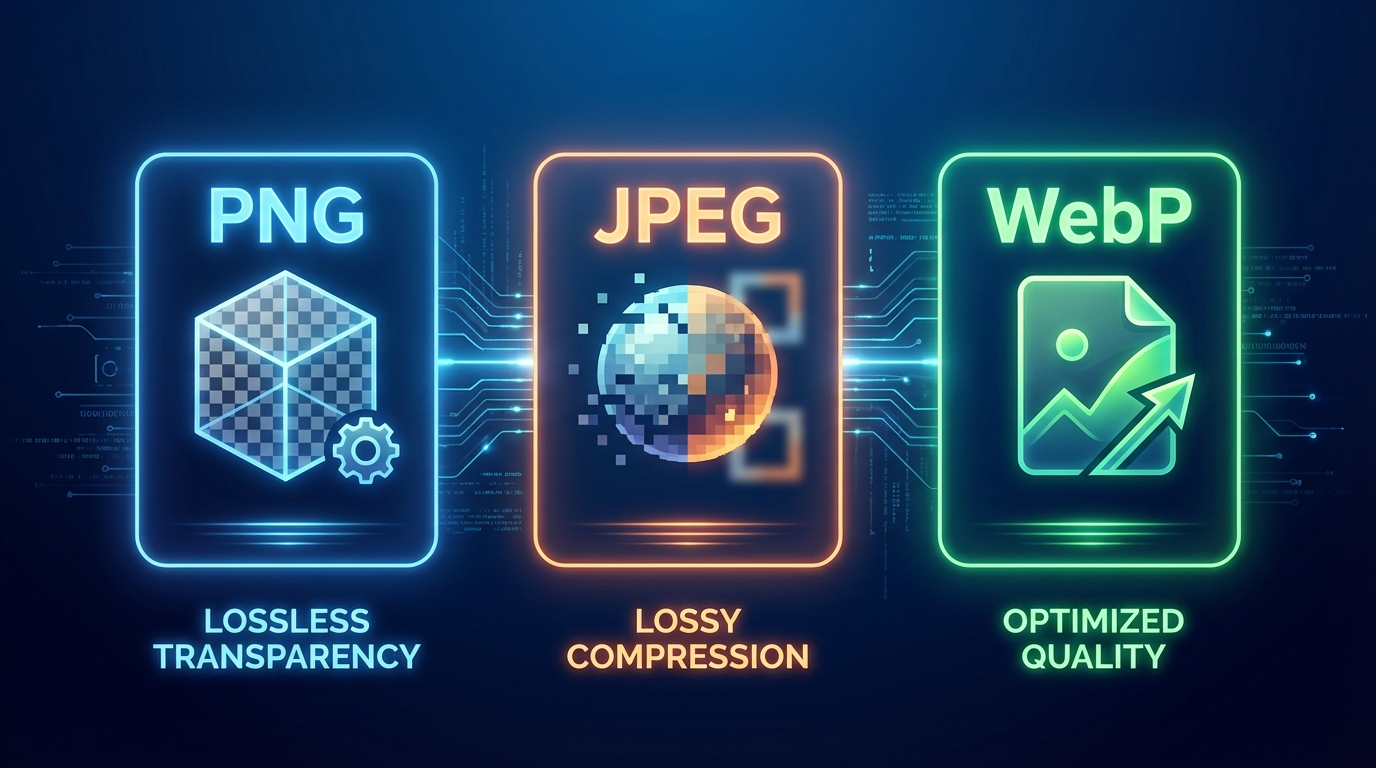
Choosing the right image format can significantly impact your website's performance, load times, and user experience. With three major formats dominating the web — PNG, JPEG, and WebP — it's easy to get confused about which one to use and when.
In this guide, we'll break down the key differences between PNG, JPEG, and WebP, explore their strengths and weaknesses, and help you make the right choice for your specific use case.
What Is PNG?
PNG (Portable Network Graphics) is a lossless image format that supports transparency (alpha channel). It was originally created to replace the GIF format and has become a staple for web graphics.
When to Use PNG
- Logos and icons with transparent backgrounds
- Screenshots that need pixel-perfect clarity
- Graphics with text where sharpness matters
- Images with flat colors like illustrations and diagrams
Pros of PNG
- Lossless compression — no quality degradation
- Supports transparency — perfect for overlays and logos
- Sharp edges — ideal for text and line art
- Widely supported — works in all browsers
Cons of PNG
- Larger file sizes compared to JPEG and WebP
- Not ideal for photographs
- Slower page loads if not optimized
Pro Tip: Before uploading PNG images to your website, always compress them first. Tools like PNG Minify can reduce PNG file sizes by up to 80% without any visible quality loss.
What Is JPEG?
JPEG (Joint Photographic Experts Group) is a lossy compression format designed specifically for photographs and complex images with gradients. It's been the dominant web image format for decades.
When to Use JPEG
- Photographs and realistic images
- Product images for e-commerce
- Background images that cover large areas
- Any image where slight quality loss is acceptable
Pros of JPEG
- Excellent compression ratios — small file sizes
- Great for photos — handles gradients and complex colors beautifully
- Universally supported — every browser and device
- Adjustable quality — balance between size and quality
Cons of JPEG
- Lossy compression — quality degrades with each save
- No transparency support
- Artifacts can appear at high compression levels
- Not ideal for text or logos — edges become blurry
What Is WebP?
WebP is a modern image format developed by Google. It offers superior compression compared to both PNG and JPEG while maintaining high visual quality.
When to Use WebP
- Web-first projects where performance is critical
- Any image type — works for both photos and graphics
- Progressive web apps and performance-optimized sites
- When browser support is not a concern (99%+ modern browsers)
Pros of WebP
- 25–34% smaller than equivalent JPEG files
- 26% smaller than equivalent PNG files
- Supports transparency like PNG
- Supports animation like GIF
- Both lossy and lossless compression options
Cons of WebP
- No support in older browsers (IE)
- Less editing software compatibility
- Slightly more CPU-intensive to decode on older devices
PNG vs JPEG vs WebP: Side-by-Side Comparison
| Feature | PNG | JPEG | WebP |
|---|---|---|---|
| Compression | Lossless | Lossy | Both |
| Transparency | Yes | No | Yes |
| Best For | Logos, graphics | Photos | All types |
| File Size | Large | Medium | Small |
| Browser Support | All | All | 99%+ modern |
| Animation | No | No | Yes |
Which Format Should You Choose?
Choose PNG when:
- Your image has a transparent background
- You're working with logos, icons, or illustrations
- Pixel-perfect quality is non-negotiable
Remember to optimize your PNGs! Large PNG files can seriously slow down your website. Use PNG Minify to compress your PNGs without losing quality before uploading them.
Choose JPEG when:
- You're working with photographs or realistic images
- File size is more important than perfect quality
- Transparency is not needed
Choose WebP when:
- You're building a modern, performance-focused website
- You want the best compression with minimum quality loss
- Browser compatibility with older browsers is not a concern
Serving Multiple Formats with the HTML Picture Element
A smart approach is to serve WebP to modern browsers and fall back to PNG or JPEG for older ones:
<picture>
  <source srcset="image.webp" type="image/webp">
  <source srcset="image.png" type="image/png">
  <img src="image.png" alt="Your image description">
</picture>
This way, browsers that support WebP load the smaller WebP version, while older browsers fall back to PNG or JPEG automatically.
General Image Optimization Best Practices
Regardless of which format you choose, always optimize your images before uploading. Large, unoptimized images are one of the most common causes of slow page load times, which directly impacts your SEO rankings.
Here are some essential tips:
- Resize images to the exact dimensions needed — don't rely on CSS to shrink them
- Compress before uploading — never upload raw, unoptimized images
- Use lazy loading — only load images when they're about to enter the viewport
- Serve via CDN — deliver images from servers closest to your users
- Set proper alt text — helps both accessibility and SEO
For PNG images specifically, PNG Minify offers free, instant compression that can reduce file sizes by up to 80% with no visible quality loss.
Final Thoughts
There's no single "best" image format for every situation. The right choice depends on what you're displaying:
- PNG — for graphics, logos, and anything requiring transparency
- JPEG — for photographs and complex images
- WebP — for maximum performance on modern browsers
Whatever format you choose, always optimize your images before publishing. Even a well-chosen format can hurt performance if the file size isn't kept in check.
Start compressing your PNG images today with PNG Minify — it's free, fast, and requires no account or installation.
Looking for more image optimization tips? Check out our other guides on how to compress PNG images without losing quality and why optimizing PNG images is essential for faster websites.