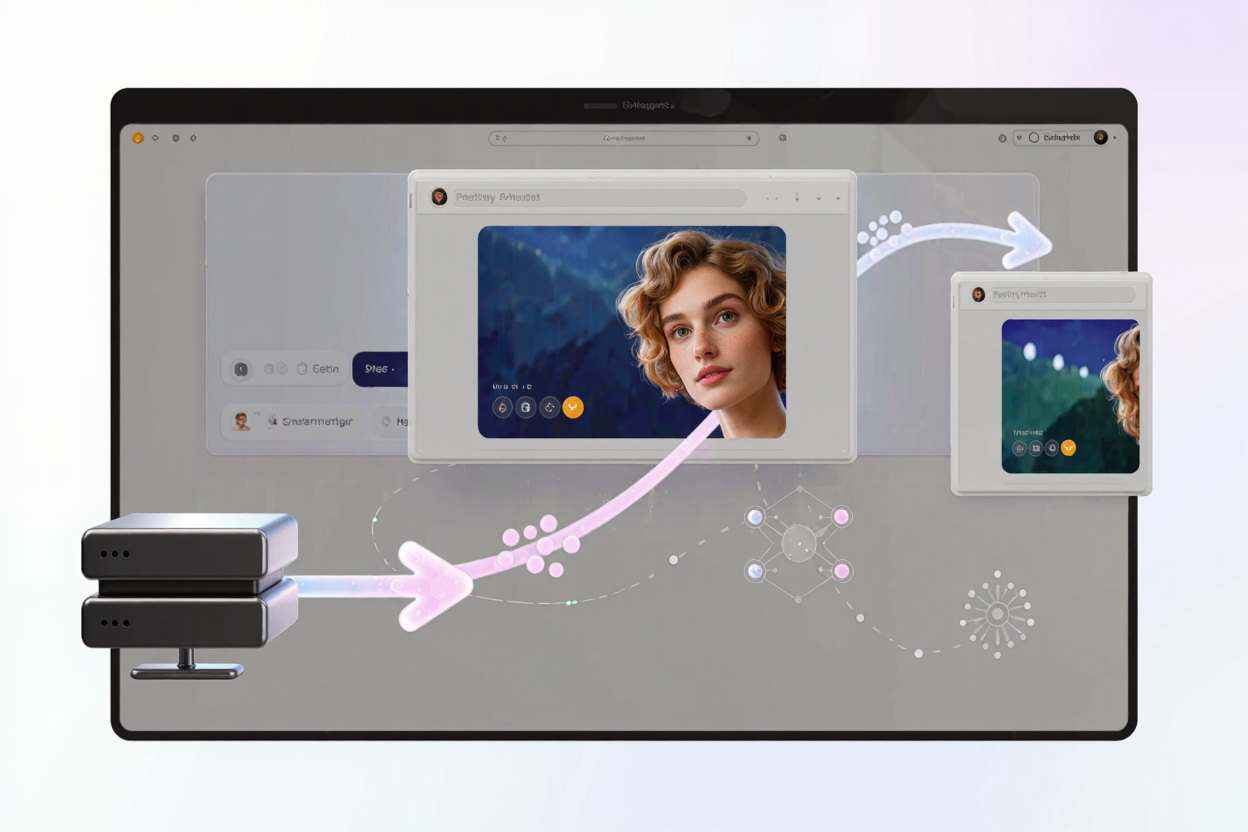
In today's fast-paced digital world, website speed is paramount. Users expect instant loading, and search engines reward sites that deliver a snappy experience. Images, while vital for engaging content, are often the heaviest elements on a page, significantly impacting load times.
This is where image preloading and prefetching come into play. These powerful browser hints allow you to proactively manage how and when images are loaded, ensuring your most critical visuals appear quickly and your overall user journey remains smooth.
Understanding Core Concepts: Why Images Matter for Speed
Every time a user visits a webpage, their browser has to download and render numerous resources, including HTML, CSS, JavaScript, and images. Large image files, or too many images, can quickly clog the network, delaying the rendering of your content and frustrating visitors.
Slow image loading directly impacts key performance metrics like Largest Contentful Paint (LCP), a Core Web Vital that measures when the largest content element on the screen becomes visible. Improving LCP is crucial for both user satisfaction and search engine rankings.
The Power of Preloading: Prioritizing Critical Images
Image preloading is like telling the browser, "Hey, this image is super important; fetch it now!" It uses the <link rel="preload"> HTML tag to instruct the browser to download a resource with high priority before it's discovered in the HTML parser or CSS object model. This is especially useful for resources critical to the initial page render.
When to Use Preloading
- Hero Images: The large, prominent image at the top of your page that defines the initial visual experience.
- Above-the-Fold Content: Any image immediately visible to the user without scrolling.
- Background Images: Images applied via CSS that are essential for the layout's aesthetic.
- Images within a JavaScript-driven carousel: If the JavaScript loads later, preloading the images ensures they're ready when the script executes.
How to Implement Preloading
You typically place preload hints in the <head> section of your HTML. For an image, it looks like this:
<link rel="preload" as="image" href="/path/to/hero-image.webp">
Remember to specify the as attribute correctly (e.g., image, font, style, script) so the browser knows what kind of resource it's fetching. Preloading ensures that when the browser finally needs the image, it's already downloaded and ready to display, significantly improving LCP.
The Nuance of Prefetching: Preparing for Future Navigation
Unlike preloading, which focuses on the current page, prefetching looks ahead. The <link rel="prefetch"> tag tells the browser to download a resource with low priority during idle time, anticipating that the user might need it on a subsequent page. It's about optimizing the user's next action, not the current one.
When to Use Prefetching
- Images on the Next Page: If you have a multi-step form or a common user journey, prefetch images for the likely next page.
- Product Gallery Thumbnails: Prefetch larger versions of images for product pages that a user is likely to click after viewing thumbnails.
- Off-screen Images: Images that are not immediately visible but are likely to be scrolled into view or accessed via a tab.
How to Implement Prefetching
Similar to preloading, prefetch hints are placed in the <head> section:
<link rel="prefetch" as="image" href="/path/to/next-page-image.webp">
Prefetching doesn't block the rendering of the current page. It's a gentle suggestion to the browser to fetch resources when it has spare capacity, leading to a smoother, faster experience if the user navigates to the prefetched content.
Preload vs. Prefetch: A Clear Distinction
While both hints involve fetching resources ahead of time, their purpose and priority differ significantly:
- Preload: High priority. For resources needed on the current page, immediately. Improves current page LCP and perceived performance.
- Prefetch: Low priority. For resources likely to be needed on subsequent pages. Improves future navigation speed and user journey.
Using them correctly is key. Misusing preload can actually harm initial page load if you fetch too many non-critical resources with high priority. Misusing prefetch has less impact on the current page but won't yield benefits if the user doesn't navigate to the prefetched content.
Best Practices for Implementation
- Don't Overuse: Only preload truly critical resources. Over-preloading can clog the network and slow down your initial page load.
- Combine with Responsive Images: Always use
<picture>orsrcsetwithsizesattributes for responsive images. Preloading the correct size for the user's viewport is crucial for efficiency. You can combine this by preloading the default source or the most common source set. - Prioritize Wisely: Identify the absolute must-have images for your above-the-fold content. These are your preload candidates.
- Consider Image Optimization: Even with preloading and prefetching, the fundamental size of your images matters immensely. Always ensure your images are compressed and optimized for the web. You can easily compress your PNG files for free to significantly reduce file sizes without losing quality.
The Role of Image Optimization
Preloading and prefetching are powerful techniques, but they are not a substitute for proper image optimization. Even the fastest network connection will struggle with unnecessarily large image files. Before you even think about preloading, ensure your images are as small as possible.
Tools like our PNG optimization tool can drastically reduce the file size of your PNG images, making them load faster regardless of preloading or prefetching. For other image formats, or if you're looking for a dedicated <a href="https://convertminify.com/tools/compress-png" target="_blank" rel="noopener noreferrer">PNG Compressor</a>, there are many options available to help you achieve optimal performance.
By optimizing your images first, you give preloading and prefetching the best possible foundation to work with, resulting in even faster load times and a smoother user experience. Don't forget to compress your PNG files for free as a foundational step.
Impact on SEO and User Experience
Implementing preloading and prefetching, alongside robust image optimization, directly contributes to better Core Web Vitals scores. Faster LCP means happier users and improved search engine rankings. Reduced bounce rates, increased engagement, and higher conversion rates are all positive outcomes of a quick, seamless user experience.
FAQ
Q1: Can preloading and prefetching slow down my website?
A: Incorrect use of preloading, especially preloading too many non-critical resources, can indeed slow down your initial page load by competing for network bandwidth. Prefetching is less likely to cause this issue as it's low priority and runs during idle time.
Q2: What's the biggest benefit of using these techniques?
A: The biggest benefit is improved perceived performance and actual load speed. Preloading ensures critical content appears faster, while prefetching makes subsequent navigation feel instant, leading to a much smoother and more enjoyable user experience.
Q3: Should I optimize my images even if I use preloading and prefetching?
A: Absolutely. Image optimization is a fundamental first step. Preloading and prefetching only dictate when an image is fetched; optimizing it reduces how much data needs to be fetched, making both techniques even more effective.
Conclusion
Image preloading and prefetching are invaluable tools in your web performance toolkit. By strategically telling browsers which images to prioritize and which to prepare for, you can significantly enhance your website's speed, improve user experience, and boost your SEO. Combine these techniques with essential image optimization for the best results, ensuring your visuals load quickly and beautifully every time.