Large PNG images can be a presenter's worst nightmare, leading to slow-loading slides, sluggish navigation, and an overall clunky presentation experience. While PNGs are excellent for their lossless quality and transparency, their file sizes can quickly balloon, especially when used extensively in high-resolution presentations. Ensuring your presentation flows smoothly is crucial for engaging your audience, and optimizing your images is a key step in achieving that.
Optimizing your PNGs isn't just about speed; it's about professionalism. A presentation that loads quickly and transitions seamlessly reflects well on you and your content. This guide will walk you through effective strategies to significantly reduce your PNG file sizes, ensuring your slides are light, fast, and visually appealing, all while maintaining their high quality.
Why PNGs Can Be So Large
PNG (Portable Network Graphics) is a raster graphics file format that supports lossless data compression. This means that when you save an image as a PNG, no original image data is lost, preserving every pixel's detail. PNGs are particularly favored for images requiring transparency, such as logos, icons, and graphics with irregular shapes, as they support an alpha channel.
The downside of this lossless quality and transparency support is often a larger file size compared to lossy formats like JPEG. Every pixel and its transparency information needs to be stored, and for complex images with many colors or intricate details, this can accumulate into significant data. Understanding this inherent characteristic is the first step toward effective optimization.
Essential Strategies to Reduce PNG File Size
Reducing the size of your PNG files for presentations involves a combination of smart preparation and effective compression techniques. By implementing these strategies, you can achieve a noticeable difference in your presentation's overall performance.
1. Resize Images Before Inserting
One of the most common mistakes is inserting a high-resolution PNG image directly into a slide without first resizing it to the dimensions it will actually be displayed at. If your slide is, for example, 1920x1080 pixels, and you insert a 4000x3000 pixel PNG, the presentation software still has to process the larger image, even if it scales it down visually. Always resize your images to the exact or slightly larger dimensions needed for your slide before inserting them. This immediately cuts down on unnecessary data.
2. Crop Unnecessary Parts
Just like resizing, cropping plays a vital role. Often, a PNG image might contain excess transparent space or irrelevant visual information around the main subject. Cropping these unnecessary parts not only focuses the audience's attention but also removes pixels that contribute to the file size. Use image editing software to precisely crop your images to their essential content before adding them to your presentation.
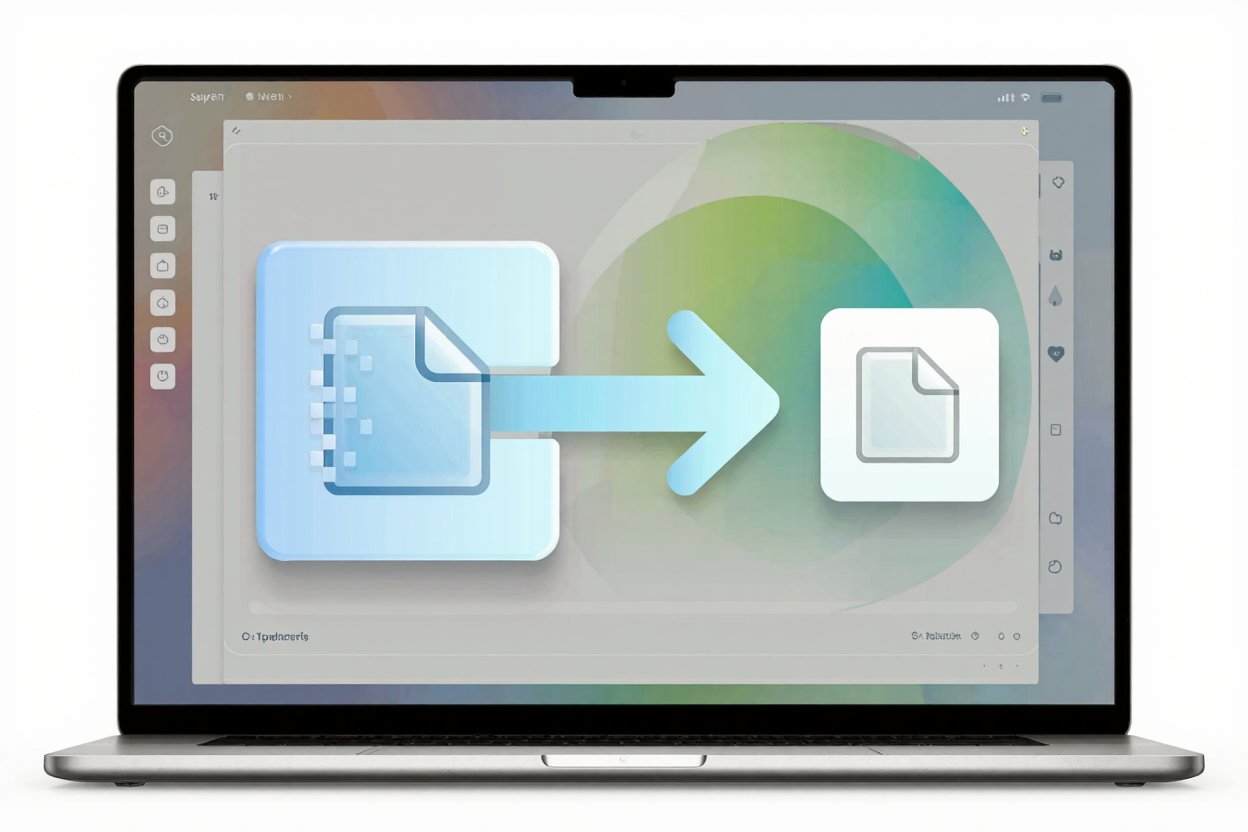
3. Optimize with a Dedicated Tool
Manual resizing and cropping are good starting points, but dedicated PNG optimization tool can take your file size reduction much further. These tools use advanced algorithms to compress PNGs by reducing color depth, removing unnecessary metadata, and applying other lossless or near-lossless compression techniques without visibly degrading image quality. This is often the most effective way to achieve significant reductions.
Online tools like PNGMinify are specifically designed for this purpose. You can easily compress your PNG files for free directly through your web browser. These services analyze your images and apply the best compression methods to ensure the smallest possible file size while preserving visual integrity.
4. Reduce Color Depth (When Appropriate)
PNGs can support millions of colors (24-bit Truecolor) or even more with an alpha channel (32-bit Truecolor with alpha). However, many images, especially icons, logos, or simple graphics, don't require such a vast color palette. Reducing the color depth to 8-bit (256 colors) or even fewer can drastically reduce file size, especially if the image doesn't have complex gradients or photographs. Modern compression tools often handle this automatically, but some image editors allow manual control.
5. Remove Unnecessary Metadata
PNG files, like many other image formats, can contain various pieces of metadata such as camera information, creation date, copyright details, and more. While useful in some contexts, this information is entirely superfluous for presentation slides and only adds to the file size. Many online <a href="https://convertminify.com/tools/compress-png" target="_blank" rel="noopener noreferrer">PNG Compressor</a> tools automatically strip this metadata during the compression process, contributing to smaller files.
6. Consider Converting to JPEG for Photos
While this article focuses on PNGs, it's worth considering if a PNG is truly the best format for every image in your presentation. If you have photographs or complex images without transparency requirements, JPEG is often a much more efficient format. JPEG uses lossy compression, which discards some image data, but for photographic content, this loss is often imperceptible to the human eye while leading to significantly smaller file sizes. Reserve PNGs for images where transparency or absolute lossless quality for graphics is paramount.
How to Use PNGMinify for Effortless Compression
PNGMinify provides a straightforward, efficient way to optimize your PNG files without the need for complex software. Here’s how you can quickly compress your PNG files for free:
- Visit the Website: Navigate to pngminify.com.
- Upload Your Files: Click the 'Upload' button or drag and drop your PNG images directly into the designated area. You can often process multiple files at once.
- Automatic Compression: PNGMinify's intelligent algorithms will automatically begin compressing your uploaded files.
- Download Optimized Files: Once the compression is complete, you'll see the percentage of size reduction for each image. Simply click the 'Download' button to save your newly optimized, smaller PNGs to your computer.
It's that simple! By using such a tool, you can ensure your presentation images are perfectly optimized for performance without any hassle.
Benefits of Smaller PNGs in Presentations
The advantages of having optimized PNGs in your presentation slides extend beyond just faster loading times. They contribute to a smoother overall experience, both for you and your audience.
- Faster Loading and Transitions: Slides with smaller images load almost instantly, making your presentation feel more professional and responsive.
- Smaller Presentation File Size: The entire presentation file will be significantly smaller, making it easier to share via email, cloud services, or USB drives.
- Reduced Memory Usage: Less image data means your presentation software consumes less RAM, preventing potential slowdowns or crashes, especially on older machines.
- Improved Audience Engagement: A seamless, fast-paced presentation keeps your audience focused and prevents them from getting distracted by technical hitches.
FAQ
Q1: Will compressing my PNGs reduce their quality noticeably?
A1: Most modern PNG compression tools, including PNGMinify, employ lossless or near-lossless compression techniques. This means they reduce file size by optimizing data storage, removing metadata, and sometimes reducing color depth without a visually perceptible loss in quality. For presentation slides, the visual difference is typically negligible to non-existent.
Q2: Can I compress multiple PNG files at once?
A2: Yes, many online PNG optimization tools, including PNGMinify, support batch processing. This allows you to upload and compress several PNG images simultaneously, saving you a significant amount of time and effort when preparing a presentation with many graphics.
Q3: Is it better to use PNG or JPEG for presentation images?
A3: It depends on the image content. Use PNG for images requiring transparency (like logos or icons), graphics with sharp lines, or when absolute lossless quality is critical. Use JPEG for photographic content or complex images without transparency, as it typically achieves much smaller file sizes for such content with minimal perceived quality loss.
Don't let oversized images slow down your next presentation. By applying these simple yet effective strategies and leveraging powerful tools like PNGMinify, you can ensure your slides are fast, professional, and impactful. Start optimizing your PNGs today and deliver a seamless presentation experience every time.