In today's fast-paced digital world, website speed is not just a luxury; it's a necessity. Users expect instant access to information, and search engines prioritize fast-loading sites. While many factors contribute to a website's performance, oversized images are frequently the primary culprit behind sluggish load times. Optimizing your images is one of the most effective steps you can take to enhance user experience, improve SEO rankings, and ultimately drive better engagement and conversions.
Why Image Optimization is Crucial for Your Website
Large image files can significantly slow down your website, leading to a host of negative consequences. A slow site can frustrate visitors, causing them to abandon your page before it even loads – a phenomenon known as a high bounce rate. This directly impacts user experience and can severely damage your site's credibility.
From an SEO perspective, search engines like Google use page speed as a critical ranking factor. With the introduction of Core Web Vitals, image optimization has become more vital than ever for achieving good scores. Faster websites are rewarded with better visibility in search results, meaning more organic traffic for your business or blog. By reducing image file sizes, you're not just making your site faster; you're investing in its overall success.
Essential Strategies for Reducing Image File Size
Optimizing images doesn't mean sacrificing quality. It's about finding the perfect balance between visual fidelity and file size, ensuring your images look great while loading quickly. Here are the key strategies you should implement:
1. Choose the Right Image Format
Selecting the appropriate file format is the first step in effective image optimization. Different formats are suited for different types of images:
- JPEG (Joint Photographic Experts Group): Ideal for photographs and complex images with many colors and gradients. It uses lossy compression, meaning some data is discarded during compression, resulting in smaller file sizes but some quality reduction.
- PNG (Portable Network Graphics): Best for images requiring transparency (like logos or icons), line art, and graphics with sharp edges and fewer colors. PNG uses lossless compression, preserving all image data, but often results in larger file sizes than JPEGs for photos.
- WebP: A modern image format developed by Google that offers superior lossy and lossless compression for images on the web. It often achieves significantly smaller file sizes than JPEG and PNG while maintaining similar quality. Consider using WebP where browser support allows.
2. Implement Effective Compression Techniques
Once you've chosen the right format, compression is the next critical step. There are two main types of compression:
- Lossless Compression: This method reduces file size without any loss of image quality. It works by removing unnecessary metadata and optimizing how the image data is stored. PNG optimization tools are excellent examples of lossless compression, ensuring your images remain pixel-perfect. You can easily compress your PNG files for free using dedicated online services.
- Lossy Compression: This method achieves greater file size reduction by permanently discarding some image data. While it can significantly shrink files, especially for JPEGs, it's crucial to find a balance to avoid noticeable degradation in image quality. Experiment with different compression levels to find the sweet spot for your visuals.
3. Resize and Scale Images Appropriately
One of the most common mistakes is uploading images far larger than they will ever be displayed. If an image is meant to appear at 800 pixels wide on your website, there's no need to upload a 4000-pixel wide version.
- Serve Images at Correct Dimensions: Before uploading, resize your images to the exact maximum dimensions they will be displayed on your site. This simple step can dramatically reduce file sizes.
- Responsive Images: For modern websites, implement responsive image techniques using
srcsetandsizesattributes. This tells the browser to serve different image sizes based on the user's device and screen resolution, ensuring optimal loading for everyone.
4. Leverage Lazy Loading
Lazy loading is a technique where images (and other media) are only loaded when they are about to enter the user's viewport, rather than all at once when the page initially loads. This significantly improves initial page load times, especially for content-heavy pages with many images below the fold. Most modern browsers now support native lazy loading, which can be enabled with a simple loading="lazy" attribute.
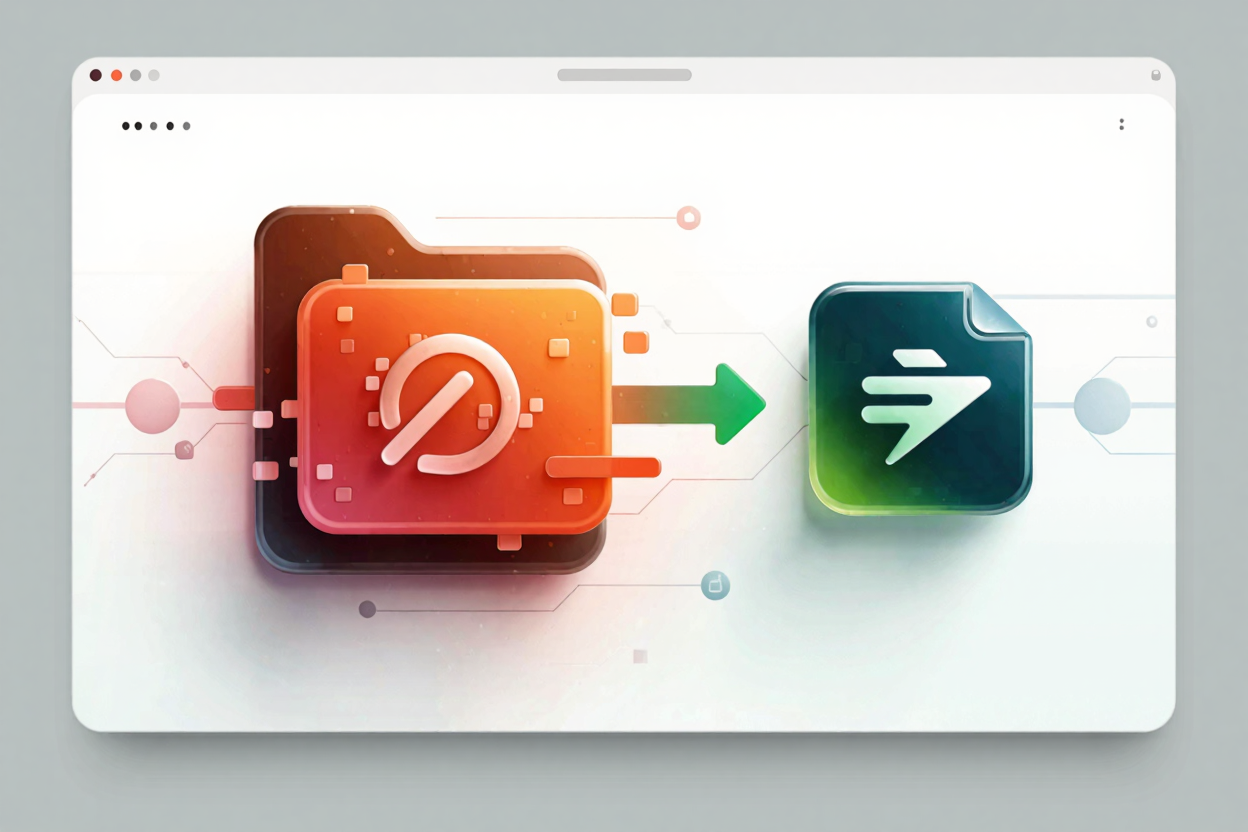
5. Convert HEIC Files to Web-Friendly Formats
Many modern smartphones, particularly iPhones, capture photos in the High-Efficiency Image File Format (HEIC). While HEIC offers excellent compression, it's not universally supported by all browsers or web platforms. To ensure your images display correctly and are optimized for the web, it's often necessary to convert HEIC files to more web-friendly formats like PNG or JPEG. A reliable <a href="https://convertminify.com/tools/heic-to-png" target="_blank" rel="noopener noreferrer">HEIC to PNG Converter</a> can streamline this process, making your images ready for website deployment.
6. Utilize Online Optimization Tools
Manually optimizing every image can be time-consuming. Fortunately, numerous online tools and services can automate much of the process. These tools often provide user-friendly interfaces to upload, compress, and download your optimized images. For instance, you can easily compress your PNG files for free using dedicated platforms, saving you valuable time and effort. These services often employ advanced algorithms to achieve maximum compression without visible quality loss.
The Cumulative Impact of Optimization
Implementing these strategies collectively creates a powerful synergy for website performance. Each optimized image contributes to a faster, more efficient website, leading to a better experience for your visitors and improved standing with search engines. Regularly auditing your site's images and incorporating optimization into your content workflow will yield long-term benefits.
FAQ
Q1: What is the main difference between lossy and lossless compression?
A1: Lossy compression permanently removes some data to achieve smaller file sizes, potentially reducing quality (e.g., JPEGs). Lossless compression reduces file size by optimizing data storage without discarding any information, preserving original quality (e.g., PNGs).
Q2: Will reducing image file size negatively impact my website's SEO?
A2: On the contrary, reducing image file size significantly improves your website's SEO. Faster loading times, a direct result of optimized images, are a critical ranking factor for search engines and enhance user experience, both of which positively impact your SEO performance.
Q3: What is the ideal image file size for web use?
A3: There isn't a single "ideal" size, as it depends on the image's dimensions and purpose. However, a good general guideline is to keep individual image files under 100-200 KB for most web pages, with some larger hero images potentially going up to 500 KB, provided they are highly optimized.
Start transforming your website's speed and user experience today. By applying these image optimization techniques, you'll be well on your way to a faster, more efficient, and SEO-friendly online presence. Take the first step and utilize a powerful PNG optimization tool to enhance your site's performance.