The digital landscape demands visuals that are both breathtakingly sharp and incredibly fast-loading. With the proliferation of high-resolution "Retina" displays, delivering crisp images is no longer a luxury but a fundamental expectation. However, achieving this visual fidelity often comes at the cost of larger file sizes, which can significantly slow down your website and frustrate users.
The challenge lies in a delicate balancing act: providing the stunning detail that modern screens demand while ensuring your site remains lightning-fast. High-resolution images, when unoptimized, can balloon page load times, negatively impacting user experience, SEO rankings, and conversion rates. Understanding how to manage this trade-off is crucial for any website owner or developer.
The Retina Display Challenge
Retina displays, or high-DPI (Dots Per Inch) screens, pack more pixels into the same physical space than traditional displays. This results in incredibly sharp images and text, making elements appear smoother and more lifelike. For an image to look "Retina-ready," it typically needs to be served at twice the resolution of its displayed size.
For example, if an image is displayed at 500 pixels wide on a standard screen, a Retina display might require a 1000-pixel-wide image to appear equally sharp. This doubling of dimensions can quadruple the pixel count, leading to significantly larger file sizes if not handled correctly. The goal is to deliver this enhanced visual experience without burdening your server or your users' bandwidth.
Why File Size Matters
Beyond aesthetics, image file size has profound implications for your website's performance. Slower loading times directly contribute to higher bounce rates, as users are quick to abandon sites that don't load instantly. Search engines like Google also factor page speed into their ranking algorithms, meaning unoptimized images can hurt your SEO efforts.
Furthermore, large image files consume more data, which is a significant concern for mobile users or those with limited data plans. By optimizing your images, you enhance user experience, improve your search engine visibility, and demonstrate respect for your visitors' time and resources.
Choosing the Right Image Format
Selecting the appropriate image format is the first critical step in balancing quality and file size. Each format has its strengths and weaknesses.
PNG: For Sharpness and Transparency
PNG (Portable Network Graphics) is ideal for images that require transparency, such as logos, icons, or graphics with sharp lines and text. It uses a lossless compression algorithm, meaning no image data is discarded during compression. While this preserves quality perfectly, it can result in larger file sizes compared to lossy formats, especially for complex photographic images. For web graphics and transparent elements, PNG is often the go-to, but careful optimization is key.
JPEG: For Photographs and Complex Images
JPEG (Joint Photographic Experts Group) is the standard for photographs and images with continuous tones and gradients. It uses a lossy compression method, which discards some image data to achieve significantly smaller file sizes. You can adjust the compression level, with higher compression leading to smaller files but also more noticeable quality degradation. It's about finding the sweet spot where the quality loss is imperceptible to the human eye.
WebP: The Modern Efficiency Choice
WebP is a modern image format developed by Google that offers superior lossless and lossy compression for images on the web. It can achieve significantly smaller file sizes than JPEGs and PNGs while maintaining comparable quality. Supporting WebP where possible allows you to serve highly optimized images to compatible browsers, falling back to PNG or JPEG for older browsers.
Optimal Image Dimensions and Resolution
Serving images at the correct dimensions and resolution is paramount. The "2x rule" is a common strategy for Retina displays: provide images that are twice the size of their display dimensions.
For instance, if your CSS displays an image at 400px wide, you would ideally provide an 800px wide image for Retina users. Modern web development often employs responsive image techniques, using HTML's srcset and sizes attributes, or CSS media queries, to serve different image versions based on screen size and device pixel ratio. This ensures users only download the image resolution they need, preventing unnecessary data transfer.
Mastering Image Compression
Once you've chosen your format and determined your dimensions, compression is where the real magic happens in reducing file size without visible quality loss.
Lossless vs. Lossy Compression
Lossless compression, used by formats like PNG, reduces file size by identifying and eliminating redundant data without discarding any original image information. The image can be fully reconstructed to its original state. Lossy compression, used by JPEG and WebP (in its lossy mode), permanently removes some image data. While this leads to much smaller files, it means a slight reduction in quality. The art is to compress to a level where the loss is imperceptible to the human eye.
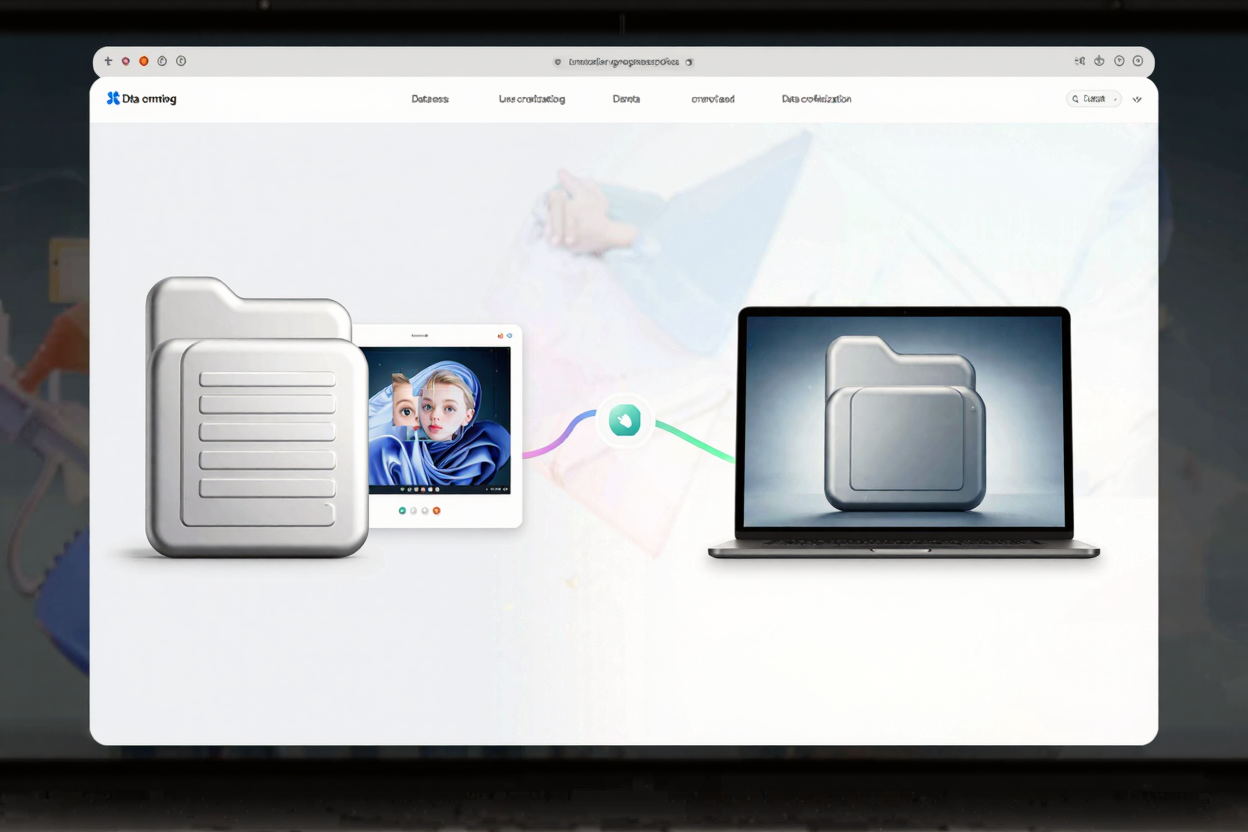
For PNGs, lossless compression is critical for maintaining sharp edges and transparency. Tools like PNG optimization tool specialize in applying advanced lossless compression techniques to significantly reduce PNG file sizes without any quality degradation. This means your Retina-ready PNGs can remain sharp and transparent while being much lighter. You can easily compress your PNG files for free directly on our website. For more specific compression needs, consider using a dedicated <a href="https://convertminify.com/tools/compress-png" target="_blank" rel="noopener noreferrer">PNG Compressor</a> that offers fine-tuned control over the optimization process.
Beyond Compression: Other Optimization Techniques
While format choice and compression are foundational, several other techniques can further enhance image delivery.
Lazy Loading Images
Lazy loading defers the loading of images until they are actually needed, typically when they scroll into the user's viewport. This means that images "below the fold" (not immediately visible on screen) are not loaded until the user scrolls down, significantly speeding up initial page load times. Modern browsers offer native lazy loading with the loading="lazy" attribute, making implementation straightforward.
Content Delivery Networks (CDNs)
A CDN stores copies of your website's static assets, including images, on servers distributed globally. When a user requests an image, it's served from the nearest CDN server, reducing latency and speeding up delivery. CDNs are particularly beneficial for websites with a global audience, ensuring fast image loading regardless of geographical location.
Putting It All Together
Creating Retina-ready images without huge file sizes is an achievable goal that significantly boosts your website's performance and user experience. It involves a strategic approach: choosing the right format, sizing images appropriately, employing smart compression, and leveraging modern web techniques like lazy loading and CDNs. By integrating these practices, you can deliver stunning, high-resolution visuals that load at lightning speed, keeping your visitors engaged and happy. Don't let large image files slow you down; compress your PNG files for free and keep your site fast and beautiful.
FAQ
Q1: What is the "2x rule" for Retina images?
A1: The "2x rule" suggests serving images that are twice the linear dimension of their display size for Retina screens. For example, an image displayed at 300px wide should ideally be 600px wide to appear sharp on a Retina display.
Q2: Is lossless compression always better than lossy compression?
A2: Not necessarily. Lossless compression preserves all original image data, ensuring perfect quality, but often results in larger files. Lossy compression achieves much smaller file sizes by discarding some data, which is often imperceptible to the human eye, especially for photographs. The "better" choice depends on the image type and your priorities for file size versus absolute fidelity.
Q3: Can I use different image formats for different parts of my website?
A3: Absolutely! It's best practice to use the most appropriate format for each image. Use PNG for logos and graphics with transparency, JPEG for photos, and WebP whenever possible for a balance of quality and smallest file size, utilizing browser fallback for compatibility.
Ready to transform your website's images? Optimize your visuals for speed and clarity today. Start compressing your PNGs with our powerful, easy-to-use tools and give your users the fast, beautiful experience they deserve.